What is RFCat?
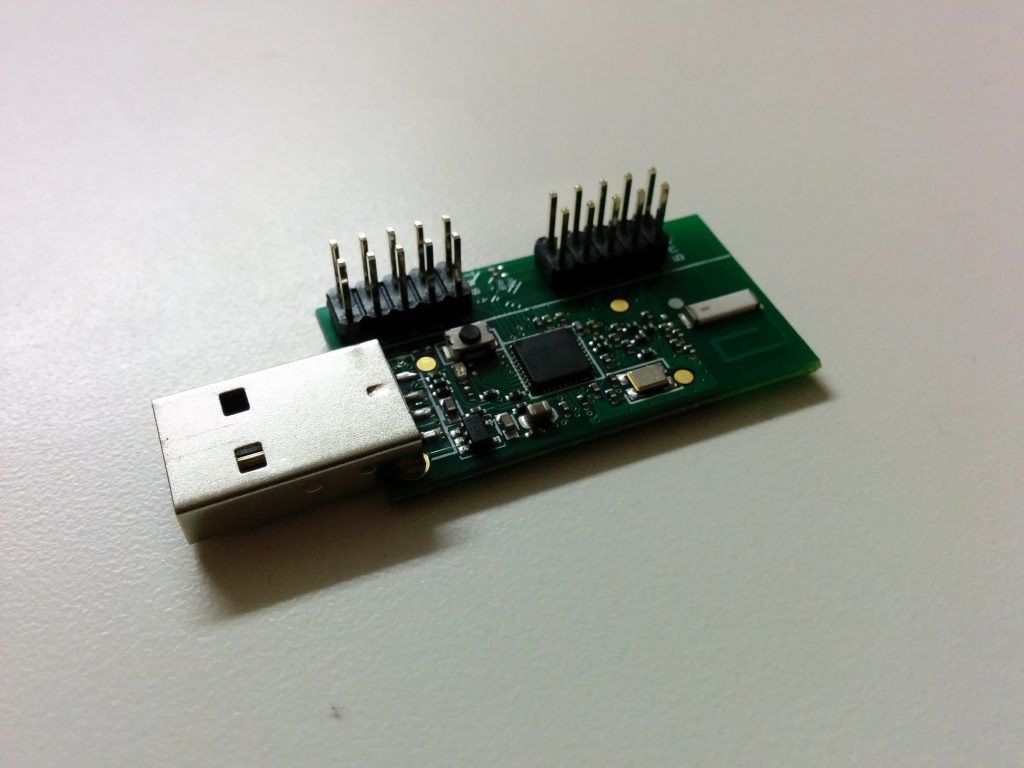
RFCat is firmware/python-client combination written by “atlas”. This software takes the once-limited TI CC1111EMK and broadens its abilities. Taken from the GrrCon page (where you can buy it for $110 pre-flashed and ready for you to use out of the box) describes RFCat as:
@Signed, flashed RfCat USB Radio Dongle (based on Chipcon CC1111EMK-868-900), making the opacity of Proprietary protocols into transparency and capacity for attack
Capable of transmitting/receiving/snooping/SpectrumAnalysis on frequencies between 300-928MHz and more (officially 315, 433, 868, 915MHz ranges, but we’ve seen more than that) using modulations 2FSK, GFSK, MSK, ASK, and OOK and baud rates 0 – 250kbaud
Why would I use this?
Good question. Well, if you are a Software Defined Radio enthusiast like me, this is an excellent tool for testing the robustness of radio protocols on various embedded devices. Since this piece of hardware transceiver with the modulation, etc. taken care of for you, this is the perfect device for helping with your every day exploration of radio signals.
Enough chit-chat. Below I have mapped-out how I “made” my un-flashed CC1111EMK into a fully-functional RFCat dongle. It cost me about $80 going this route; saving a little bit of cash, learning a lot through trial and error, and having the ability to re-flash my device again when a RFCat firmware comes out made this venture worth it.
What do I need?
- CC1111EMK-868-900 dongle; order here

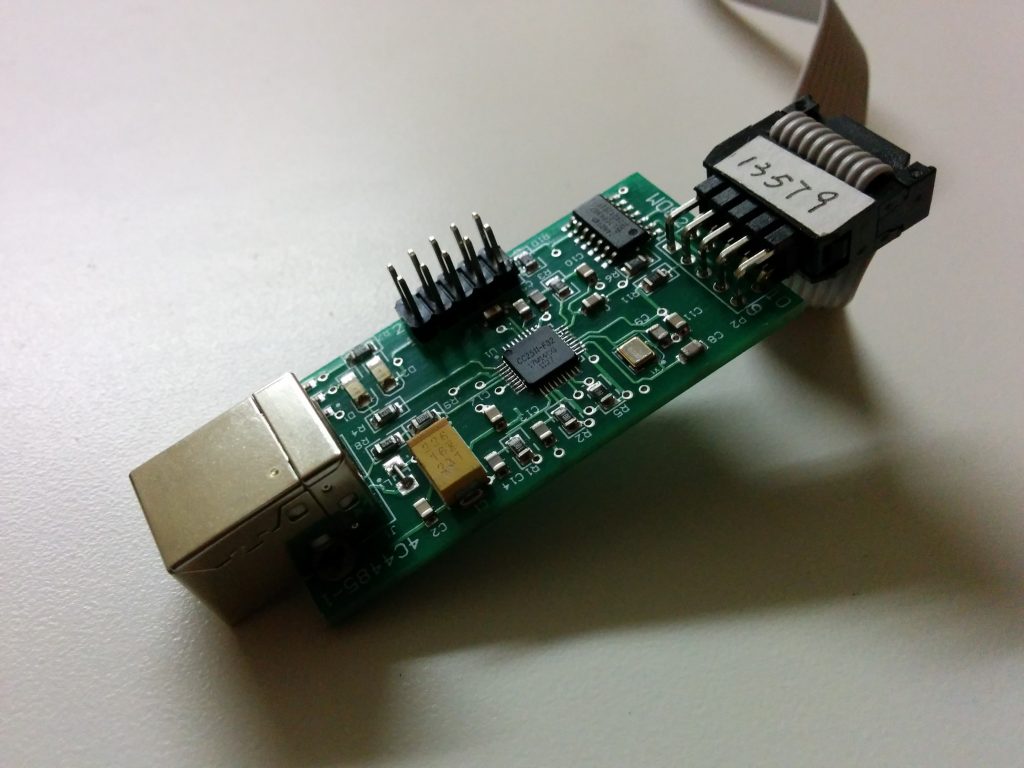
- SmartRF04EB or SmartRF05EB (I got mine from here)

- Mac Book Pro or a Linux box with Ubuntu natively installed (I did not have luck with a LiveUSB version of Kali)
- RFCat
- SmartRF Flash Programmer
- Windows 7 box for the flashing of the bootloader and firmware
- Install the SmartRF Flash Programmer onto the Windows 7 box (the drivers should be automatically installed so the SmartRF works right as you plug it in)
- Hook the ribbon cable (the correct direction; it may be reversed!) to the “DEBUG” set of 10 pins found on the CC1111EMK
- Plug in the CC1111EMK into your Windows 7 box (a solid green light should appear)
- Plug the other end of the ribbon cable (again, in the correct direction or the chip won’t be recognized) onto the 10 prongs for the SmartRF
- Plug the SmartRF into another USB port on your Windows 7 box
- Download and extract the RFCat folder onto your desktop
- Start up the SmartRF Flash Programmer software you installed earlier
- The software may ask you to update the firmware for your SmartRF — go ahead and do this by clicking “OK”, selecting “Program Evaluation Board” from the top dropdown, and then clicking “Update EB Firmware”
- Click the “Program CCxxxx SoC or MSP430” from the dropdown box at the top
- Make sure that the Chip Type appears as well as the EB type after loading up your flash programmer. At this point, we need to navigate to your root RFCat folder and point “Flash image” to the following file: rfcat_130515\firmware\bins\RfCatDonsCCBootloader-130515.hex and under “Actions”, select “Erase, program and verify”. Click “Perform actions”.

- Repeat the above with the second file after you hear Windows reconnecting your device. At this point, your dongle should still have a solid green light. Flash image: rfcat_130515\firmware\bins\RfCatDons-130515.hex but this time, be sure to select “Write protect boot block”. Click “Perform actions” once again.

- Remove the debug cable from the now flashed RFCat device (CC1111EMK) and remove it from the USB as well.
- On the Mac Book Pro (or native Linux install OS), download and extract RFCat
- Make sure you have python-usb and libusb installed on your box. You can perform this installation on OSX by running brew install package_name_here or apt-get install package_name_here for Debian-based distributions of Linux.
- Compile RFCat by running: sudo python setup.py install
- Create a new file located here: /etc/udev/rules.d/20-rfcat.rules with the following lines:
SUBSYSTEMS=="usb" ATTRS{idVendor}=="1d50" ATTRS{idProduct}=="6049" SYMLINK+="RFCAT_BL_C" SUBSYSTEMS=="usb" ATTRS{idVendor}=="1d50" ATTRS{idProduct}=="604a" SYMLINK+="RFCAT_BL_D" - Thereafter you can either reboot or run sudo udevadm control –reload-rules
- Plug in your newly flashed RFCat dongle
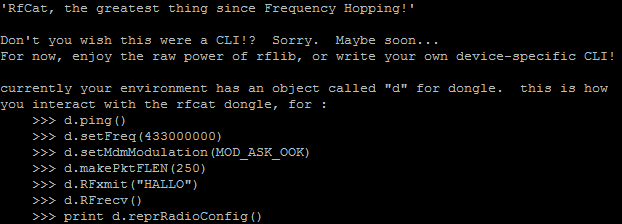
- Type rfcat -r You will be presented with options as displayed below to get you going:

- That’s it! You should be good to go!
If you would like further details on an example project while using RFCat, head over to Andrew’s blog — he has a great write-up using RFCat and harnessing Python’s power!
Also wanted to point out that I could not have done this without the help of user “poutine” and “AndrewMac” from the Freenode IRC in channel #rfcat. Thanks again!

Pingback: You know how to send my signal — Setting ...
Pingback: Infosec Events » Blog Archive Week 8 In Review – 2014 » Infosec Events
Pingback: RF measurements | Pearltrees
Hi
I am hitting a snag on step 10…
“Not able to reset SmartRF04EB”
any ideas?
thanks
Sean
Assuming that everything appeared and worked up to this point as described, I can think of two things that it could be: try a different USB port on your box, or maybe one of your wires is mixed up for the resetting portion of the SmartRF? I went through an issue where I had my order backward due to not very good markings on the board. Let me know if you have any other details.
Pingback: Hacking Radio Controlled Outlets | Hackaday
hi I can use dis usb abaut home alarm system hack?