I want to use this page to convey my thought and build process when building the Roflocator. The reason why I developed this device was because I once lost my quadcopter over an interstate and somehow found it in a parking lot across the highway by guessing its trajectory. I figured that there would be a market for some type of locator that does not rely on the pay-as-you-go model, such as the GSM GPS locators.
Breadboard Version
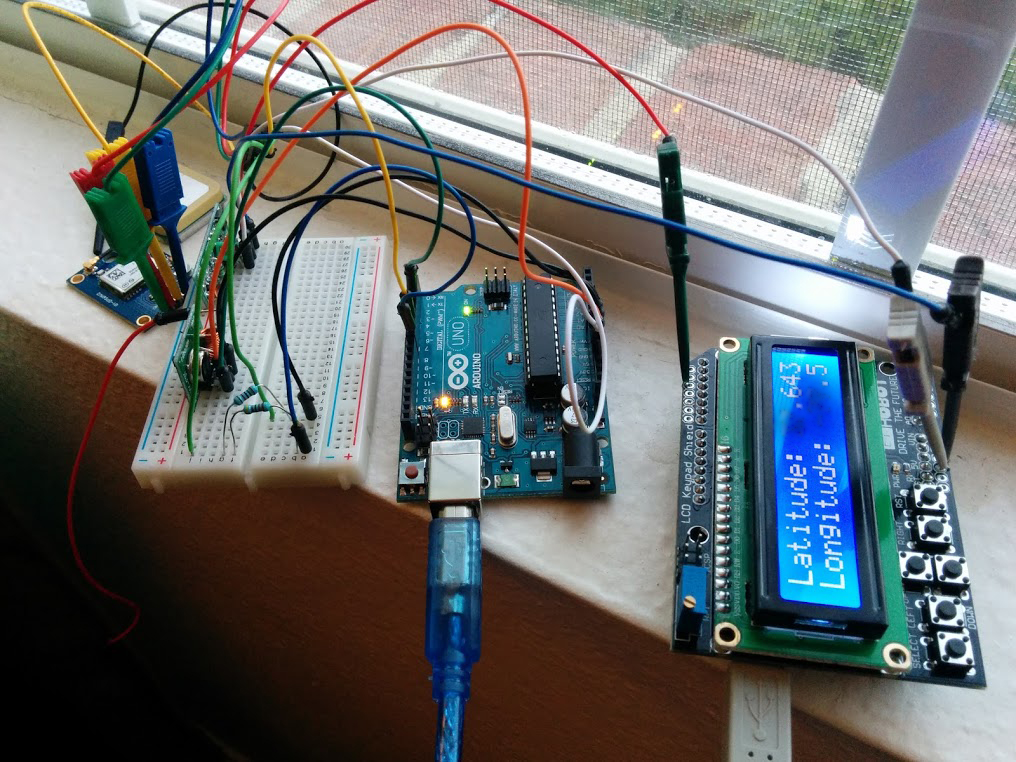
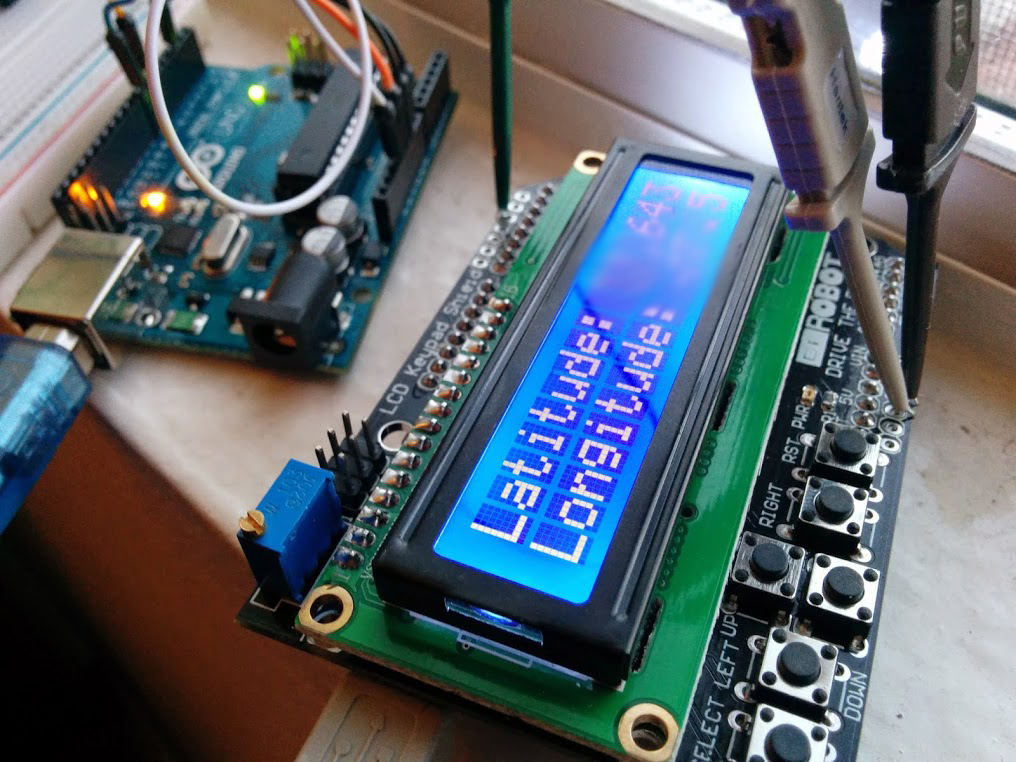
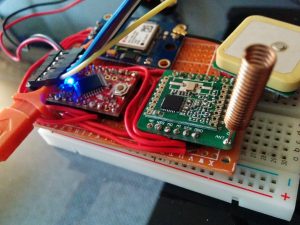
My first rendition consisted of the below pictures where I had a full arduino uno board and a 433MHz antenna that communicated the GPS coordinates to the other arduino and displayed them on an LCD screen. At this stage, I did not consider too much about the capabilities of the current 433MHz radios. After testing it out in the field, I quickly learned that this would not work (I could only walk down two flights of stairs before it would lose radio signal).
After doing a heavy amount of research, I stumbled upon the low power forums for radios and learned about the RFM69W. There were many new obstacles that I ran into when trying to get this device to work with my current setup. I had to choose the RFM69W model over the RFM69HW given that the latter pulls 130mA and the former pulls 45mA. The microcontroller that I settled on (after ruling out putting together my own arduino, due to the level of cost and effort) was an arduino mini pro, which has a maximum draw of 150mA — this would explain my choice for going with the lower mA pull with the radio, provided that I have a GPS and/or an LCD screen pulling power as well from the microcontroller. Another restriction for the RFM69W was that it could only pull power on 3.3v, which was yet another limitation that I had to overcome (originally when I had the arduino uno, which has a 3.3v and a 5v output, I had to use a voltage divider when my GPS had to use the only free output of 5v).
After using a wire that was the 1/4 wave length of a 433MHz signal as my antenna, I upgraded it to a 50 ohm impedance helical antenna measured at a full wave length of my 433MHz signal. This greatly improved the performance of my still breadboard setup, allowing my signal to propagate through apartment buildings and shrubbery. Much of my antenna and frequency tuning/analysis consisted of uploading new register modifications to the RFM69W (such as bitrate, power level, frequency deviation modulation, etc.), walking outside, and seeing how far I could go with the new register adjustments — all of which was quite the arduous process.
Perfboard Version
Now that my product seemed to be coming together, I wanted to make it more official looking as opposed to just a breadboard. I ordered a couple of perfboards and some wire, and got to work. I quickly learned that my soldering skills were not quite up-to-snuff. Countless nights I spent soldering all 150+ pins. I threw myself into the deep end. Between soldering on headers onto all of the modules, soldering them onto the perfboard, routing the wires in a neat and organized fashion across the perfboard, then soldering the wires onto the connectors, it was a rough time.
PCB Design and Printing
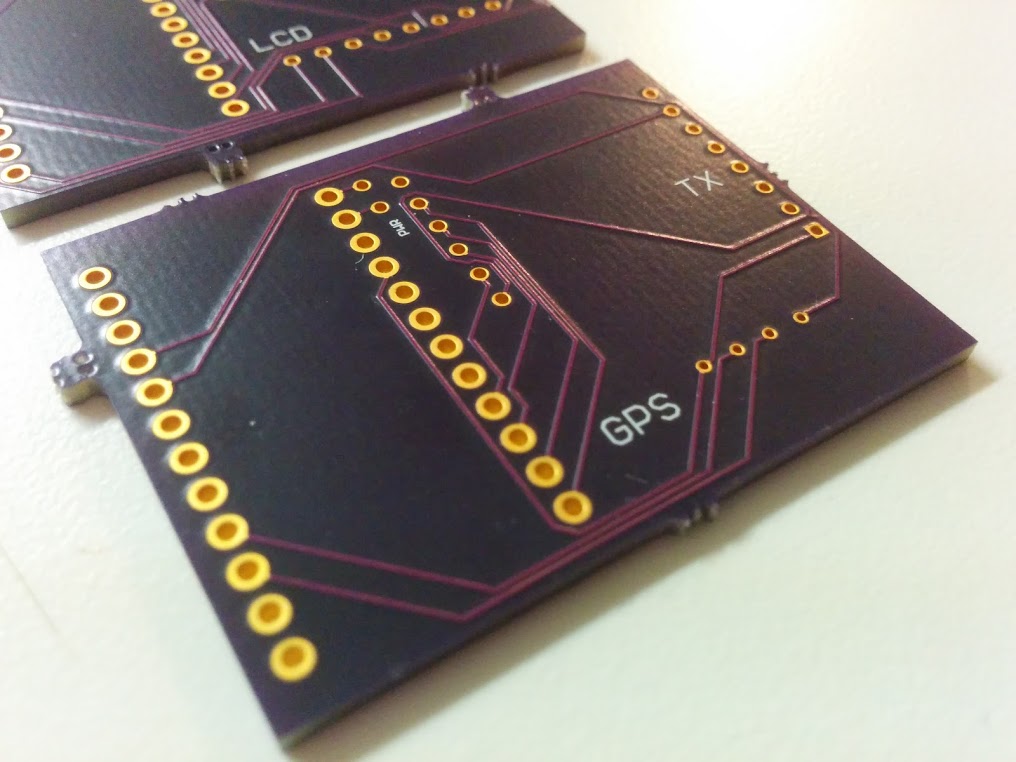
With my finished perfboard product in hand, I had another obstacle to overcome: PCB design. I had no prior knowledge as to how any of this worked. I didn’t know what tracing was, what Eagle was, and how important pitch was. To create my board, I had to first create all of the other boards in Eagle that would be used to create the size of the holes and traces onto my two PCBs. This process took me about a week or so to complete. Considering that the only diagram I had in Eagle was the arduino pro mini, I had many more modules to create before I could lay them out. I used OSHPark to print out my boards, and had a great experience with them. Unfortunately, for my first batch of boards, I did not make the drill hole sizes large enough to accommodate the pins for my RFM69W. After yet another deep end of the pool experience, and another set of PCB boards later, I had printed and received my first custom set of successful PCBs.
Vendor Relationships
Dealing with the vendors was a quest in itself. Negotiating with manufacturing facilities in China to solder the headers onto my modules proved to be difficult, given the following: they wouldn’t want to do it because of the cost associated with it, and that English was not their strong suit. With the help of my Chinese friends to craft a convincing email, this still proved to be difficult. After many emails back and forth, I received, after 3 weeks of waiting, my arduino pro mini soldered with the headers. Success. Other obstacles I ran into was with receiving my radio module with the breakout board surface mount soldered on — these guys were saints. They went out of their way to surface mount and include their breakout boards for free along with a just $1 charge for soldering the headers on as well. The only trouble I had was a bit of the email communication back-and-forth, and I received the headers soldered on at an angle (though, this was due to the boards not being the standard width that would fit on a board with 2.54mm holes spacing, so the tech was making an assumption and attempting to be courteous). That’s no matter though, as the pins were slightly adjusted to accommodate my PCB’s pin spacing.
Finished Product
After getting the boards professionally soldered on all together, I had almost a finished product. Now all I needed to do was to solder the on/off switch together, cut out two holes in the PCB case to fit my components, and hot glue it all down. I just finished this a few hours ago prior to writing this article.
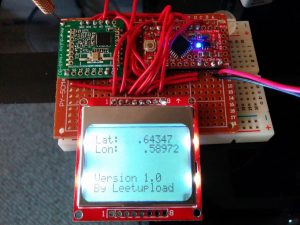
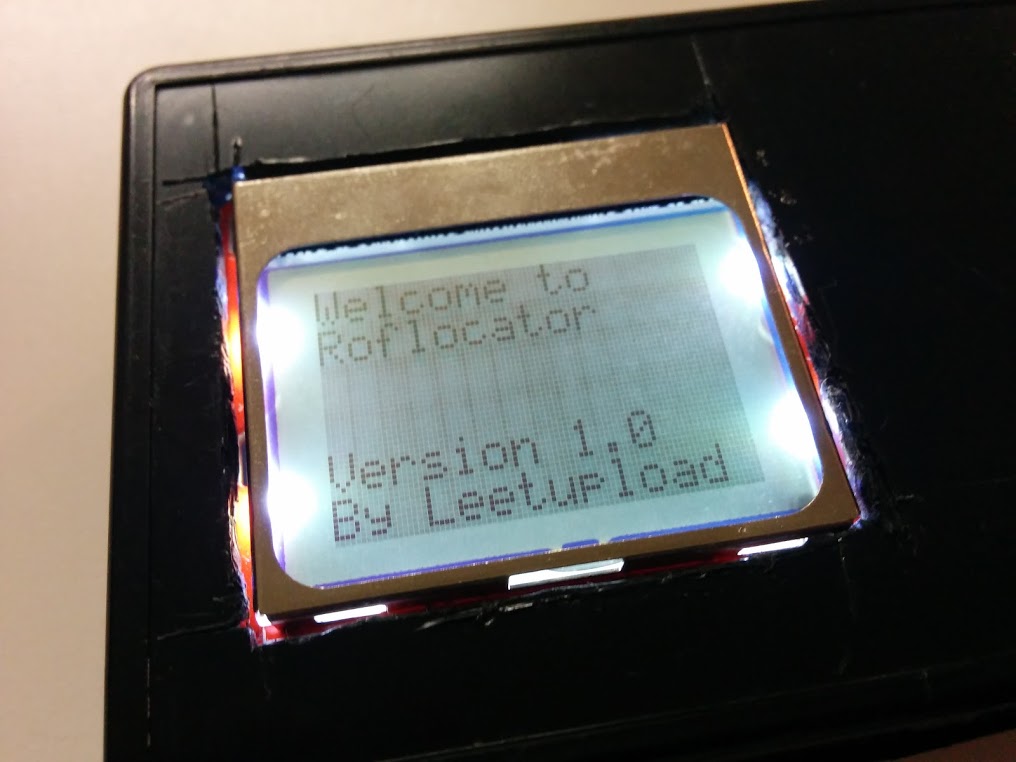
The Roflocator Welcome Screen
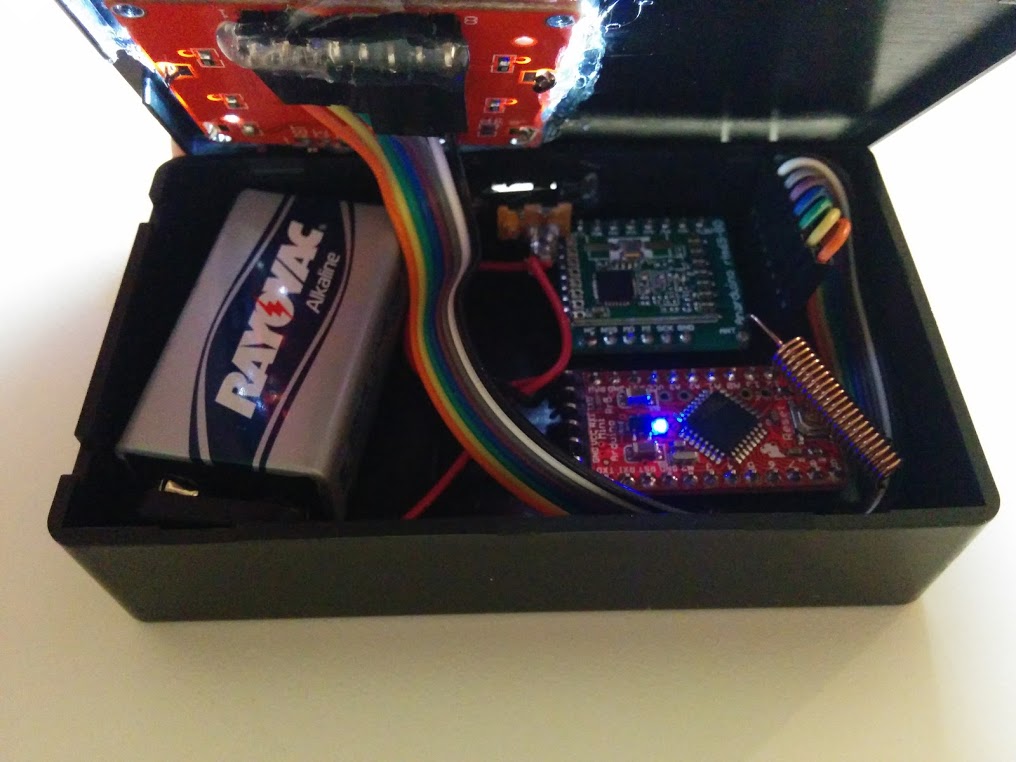
Inside of the LCD receiver
Prior to placing the receiver into the case The GPS transmitter
Final Thoughts
I am thankful to say that this project is complete, and I have gone from stem-to-stern through the product development process: I developed the product, wrote the firmware, QA’d and performed frequency analysis, negotiated with vendors for sourcing, designed and printed the PCBs, and put it all together in a final product box. This has been a great experience for me in the hardware world and I hope to continue to expand my knowledge in this space.







Hello,
The Roflocator is exactly what I’ve been looking for! Congratulations on creating a splendid device.
I have a drone story that is very close to yours, only I caught up with mine 1 mile down the road as it flew toward the Pacific. I barely managed to reacquire control and land.
Are you selling these yet? If I pre-order one, when will it be delivered?
Thanks!
Chuck
More questions…
Is there a way to externally mount the transmitter antenna for better transmission?
Will this device interfere with the on board navigation system I already have? I have the Walkera Scout.
Will the GPS sensor need to be mounted in an exposed area? My current sensor is mounted in a pod above the fuselage. There is also a layer of RF shielding inside the fuselage that protects the GPS from stray EMF’s from the controller board. Ideally, I would like to mount the Roflocator’s GPS sensor on the exterior as well.
Thanks!
Chuck
Thank you for your interest. Yes, I am selling this device. Let me check with my suppliers so I can get you a time-estimate as to when the parts can arrive. Though with the holidays and traveling I will be doing this month, I’m not sure if I could manage completing it in December (we’ll see, but probably closer to January time-frame).
For the Walkera Scout’s navigation system, do you have the specs, e.g. the frequencies used?
The GPS sensor (along with the rest of the Roflocator) should work fine in an unexposed or an exposed area of the quadcopter. For my setup, I place it within the canopy of the device.
Let me know if this helps. As far as ordering goes, let me know if the December-January time-frame is within your requirements of receiving the device.
Regards,
–leetupload
Have you decided on a price yet and/or an order process? Thanks, Scott
Yup. You can order them on this page: https://www.tindie.com/products/roflocator/the-roflocator-quadcopter-gps-locator/
They are $95 plus shipping. I currently have enough supplies for 3 of them on hand.
Or, if you prefer, you can place an order here directly via PayPal: http://leetupload.com/blagosphere/index.php/2015/04/12/roflocator-in-stock/
The GPS case is not an option at the moment, by the way.
I have lost a quad! I recently ordered one of your units. I was wondering what type of battery for the gps transmitter. Is it possible to use a voltage reg and power off of my 3 cell on the quad? If not could you send me a link to the appropriate battery type. I know you specified a 1 cell but did not go into any specifics. Thanks in advance and looking forward to it’s arrival. I will test it on my wife and have her go hide around the block somewhere!
Sure. For the GPS transmitter I would recommend something like this one: http://www.amazon.com/Neewer-1200MAH-Battery-Helicopter-Airplane/dp/B00M1QSAG2
If you would like to down-convert your 3 cell lipo to 3.7v, sure, you can give that a go. Though, I’ve never personally tried that with this device.
I mailed out the device on Friday, so I imagine that you will get it by Tuesday since Monday is a holiday (I shipped it via 2 day priority).
Have a good weekend and hope that the device works well for you!